Terms and conditions
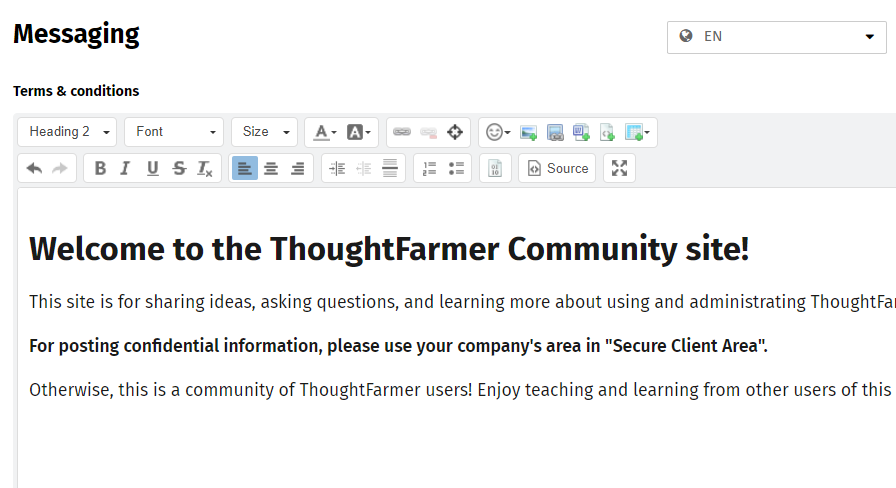
Certain legal protocols in your organization may require that users accept a set of terms and conditions before accessing the intranet. You may also wish to present a disclaimer to users. Both of these can be configured from the ThoughtFarmer Admin panel: Content section > Terms & conditions page.
Terms and conditions configured in ThoughtFarmer are shown to users the first time they log in. Users are presented with the terms and conditions statement and asked to accept or decline. They will only proceed to the intranet if they accept the terms and conditions. You can change the terms and conditions at any time and trigger a reset so users have to review and accept the new terms the next time they log in.
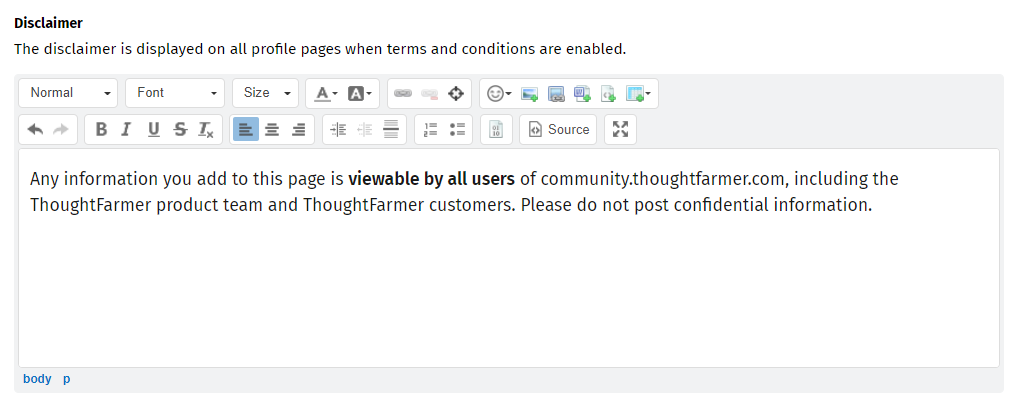
A disclaimer can also be added to your ThoughtFarmer intranet. This is simply any additional information or content that you want users to be aware of at all times. The disclaimer shows in the footer of all profile pages.
The content of the Terms & conditions and Disclaimer can be edited and saved multiple times before making it live on the intranet by turning the Terms & conditions feature on.
Configure terms & conditions and disclaimer
- Go to the Admin panel: Content section > Terms & conditions page.
- To add terms and conditions, add content to the Terms & conditions rich text area and format as desired.

- To add a disclaimer, add content to the Disclaimer rich text area and format as desired.

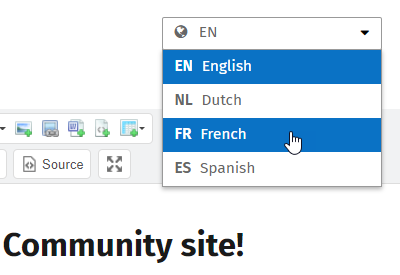
- To add terms and conditions and disclaimers in multiple languages, click on the language field in the top right and select the icon for the language version you want to create. Enter content for that language in the Terms & conditions and Disclaimer rich text areas. Repeat for more languages.

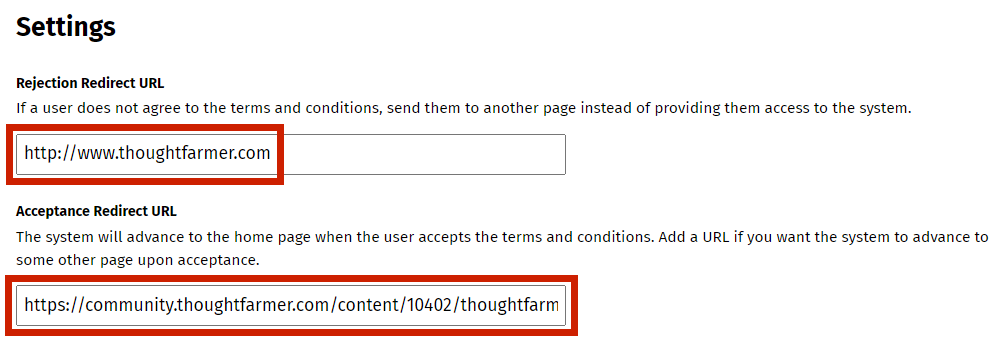
- Add Rejection and Acceptance Redirect URLs as desired, as described in the headings below.
- If you are ready to enable the Terms & conditions and Disclaimer, click the toggle at the top of the page to turn the feature ON and click Save at the bottom of the page.

- If you are not ready to enable the Terms & conditions and Disclaimer, click Save at the bottom of the page. You can enable the feature at a later time.
If you have not enabled terms & conditions previously, following the above steps and enabling the feature will trigger all users to accept the new terms.
Multilingual terms and conditions and disclaimer
To add terms and conditions and disclaimers in multiple languages, click on the language field in the top right of the Terms & conditions page and select the icon for the language version you want to create. Enter content for that language in the Terms & conditions and Disclaimer rich text areas. Repeat for more languages.
The user can switch between available language versions when presented with the terms and conditions.
Rejection Redirect URL
If a user does not agree to the terms and conditions, you can send them to another page. Enter the URL for the page you want to send them to under Rejection Redirect URL.
Acceptance Redirect URL
By default all users will be redirected to the homepage when they accept the terms and conditions. You can redirect them to a specific page on your intranet instead, such as a welcome announcement, or new user help page. Enter the URL for the page you want to redirect them to under Acceptance Redirect URL.
Update Terms & conditions
You can update the terms and conditions at any time, and either require all users to accept them, or only require new users to accept them. If you want all existing users to have to accept the updated terms, then click the Reset terms and conditions toggle to set it to RESET. If you do not turn the Reset terms and conditions toggle to reset, only new users will be shown the updated terms and conditions.
A copy of the most recent terms accepted by each user is stored individually; so at any time there is a record of the exact version a particular user accepted.
- Configure the new Terms & conditions as shown in the steps above.
- If you want all users to have to accept the updated terms and conditions, click on the Reset terms and conditions toggle to set it to RESET.

- Click Save.

Comments
0 comments
Please sign in to leave a comment.