Add and remove group members

How to add and remove members of groups
Use these instructions to add and remove members from groups on your ThoughtFarmer intranet and to sync group page membership with security groups from external users stores (eg. Active Directory). When you add someone to a group, a bunch of cool changes happen.
Changes triggered by being a group member:
- Listed on group page under "Members".
- Added to "Email group" list.
- Link to the group shows on profile page.
- Link to the group show in Your Groups menu in the App Toolbar.
- Activity from the group shows up under Highlights and Your groups activity tabs on homepage.
- News from group page News Cards shows in personalized homepage news.
- Notifications are sent to you when the group is @mentioned.
To learn about adding yourself to a group from your profile page, see the Relationships and groups heading on the Basic profile info page.
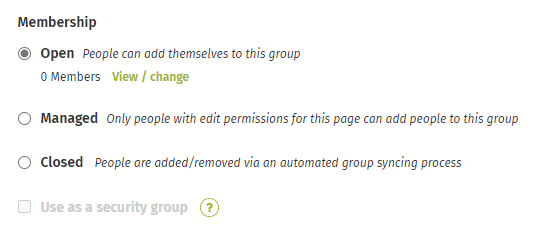
Difference between Open and Managed membership
See the explanation of Open versus Managed membership on Add a group page.
Add members in edit mode
- Click the Edit button (pencil icon) in the page header on the group page to go into edit mode.
- Click View/change under the Membership heading to bring up the Group members pop-up window.
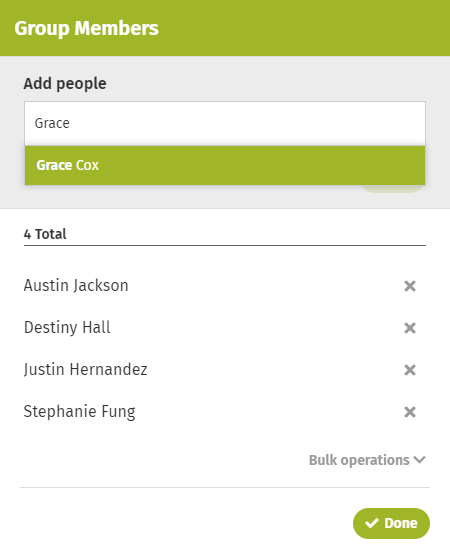
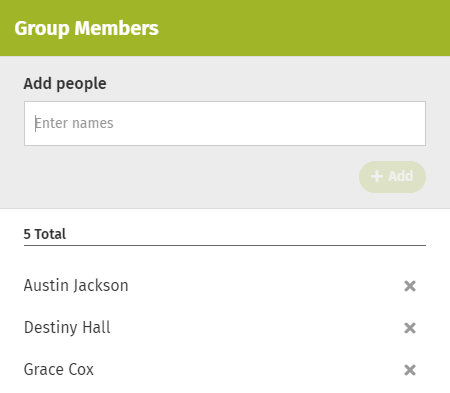
- Click in the Enter names box.
- Start typing the name of a person you want to add to the group, and click on their name when it appears in the dropdown menu.
- Repeat step 4 to select more people to add to the group.
- Click Add.
- Click Done in the pop-up window.
- Click Save at the top of the page when you are done editing.
Remove members in edit mode
- Click the Edit button (pencil icon) in the page header on the group page to go into edit mode.
- Click View/change under the Membership heading to bring up the Group Members pop-up window.
- Scroll through the list of group members to find the person you want to remove. (Names are in alphabetical order by first name.)
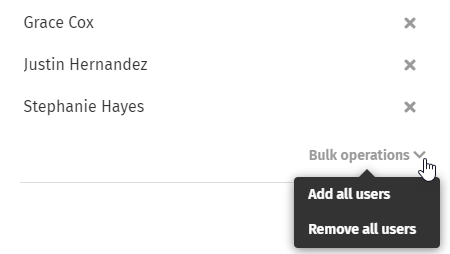
- Click the X to the right of the person's name to remove them.
- Repeat steps 3 and 4 to remove more group members.
- Click Done in the pop-up window.
- Continue editing the group page or click Save at the top of the page.
Add or remove all users from a group
If you create a group where you want all users or the majority of users to be members, the following steps to add all users make it easy:
- Click the Edit button (pencil icon) in the page header on the group page to go into edit mode.
- Click View/change under the Membership heading to bring up the Group Members pop-up window.
- On the bottom right of the window, click the Bulk operations menu.
- To add all users, select Add all users from the menu that appears.
- To remove all users, select Remove all users from the menu that appears.
- Click Done in the pop-up window.
- Continue editing the group page or click Save at the top of the page.
Add a user to groups
Administrators can add a user to groups, including Managed groups, by editing a user's profile. In Edit Profile on the user's profile page, click the Relationships & groups section, click in the Groups field, start typing the name of the Group, and click on it when it appears in the dropdown menu. Click Save to save the changes.
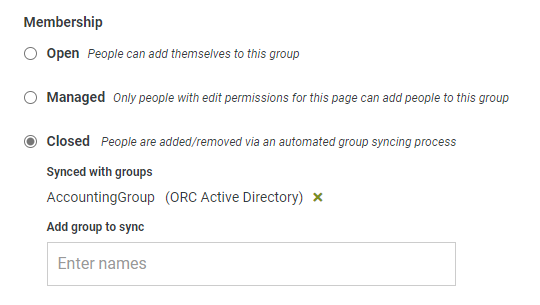
Sync membership with external security group
The following instructions must be completed by an intranet administrator. They are included here so all intranet users know that it is possible to synchronize group membership with a security group from an external user store (eg. Active Directory). With this sync set up, any updates to the list in the external user store will automatically change the membership on the group page.
- Enter Admin mode.
- Click Edit on the group page.
- Select the radio button for the Closed membership option.
- Type an external group name in the Add group to sync box and select it from the dropdown menu when it appears. Repeat to add more groups to sync with.
- Continue editing or click Save at the top of the page.
The above instructions are different than using group page membership to create ThoughtFarmer security groups. To learn more, see Use group membership for security.
Comments
0 comments
Please sign in to leave a comment.