Location Card
Set up a Location Card to help people find your office
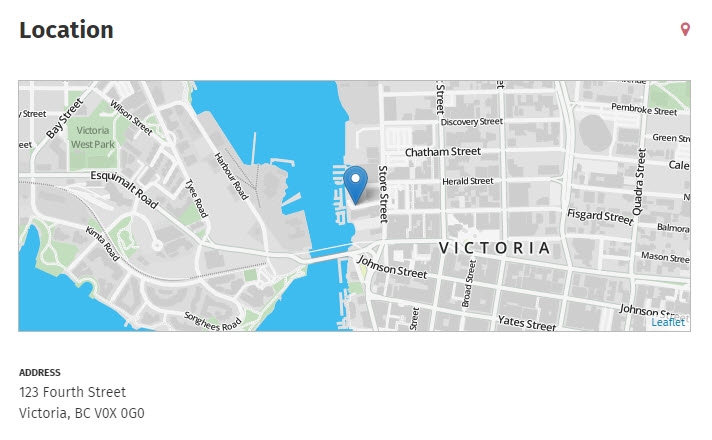
A Location Card on a group page is where you can add your group/office/department's physical address and contact info. You can even add a map showing your location in a few simple steps. Colleagues visiting from out of town can find their way to your office by viewing the map on the office group page.
- In edit mode, click Set up cards under Content type & template on the right. The Update cards window will open.

- Click Modify template, click the plus sign in the column you want to add it in, and click on Location in the Cards menu on the right.
- Note: If you don't see the Modify template option, and there is no Location Card already present in the template, talk to your intranet administrator about making the Location card available for you to use.
- Click Set up on the Location Card to select your options.

- In the Location pop-up window, enter the address and contact info you wish to display in the Location Card.

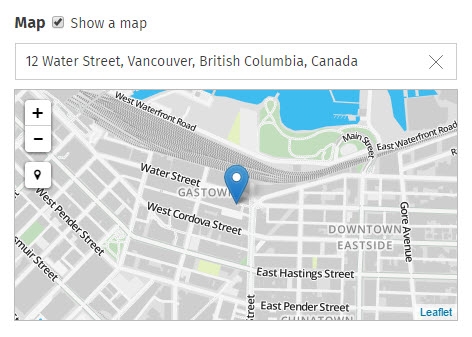
- (Optional) If you want to display a map of the office location, select the checkbox Show a map. To select what the map displays:
- Start typing the address in the Enter an address field, and select it when it appears in the dropdown menu, OR
- Click the pin icon on the left to have the map display your current location (you may have to give the browser permission to use your location), OR
- Click and drag to move to the correct area on the map.
- Zoom in and out using a scroll wheel or the plus and minus buttons on the map.

- Click Done at the bottom of the Location pop-up window.
- Click Done at the bottom of the Update cards window.
- Click Save at the top right.
The size and scope of your Location Card map will depend on the layout of your page and the size of the device it is viewed on.

Comments
0 comments
Please sign in to leave a comment.